What x402 means for chain data
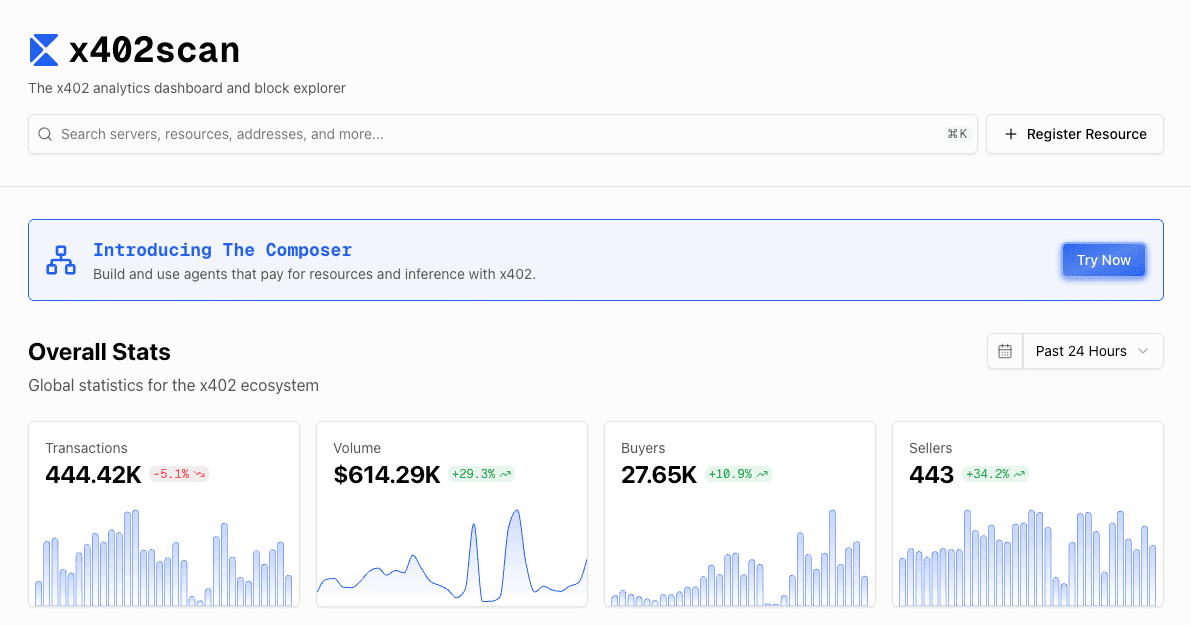
x402 is an HTTP-native payment protocol that lets AI agents pay for API calls with stablecoins without human intervention. By bringing the HTTP 402 Payment Required status code back to life, this open standard allows machine-to-machine commerce to happen directly over the web. Instead of relying on traditional gateways or manual approval flows, an AI agent can instantly settle a transaction with a stablecoin token to unlock data access.
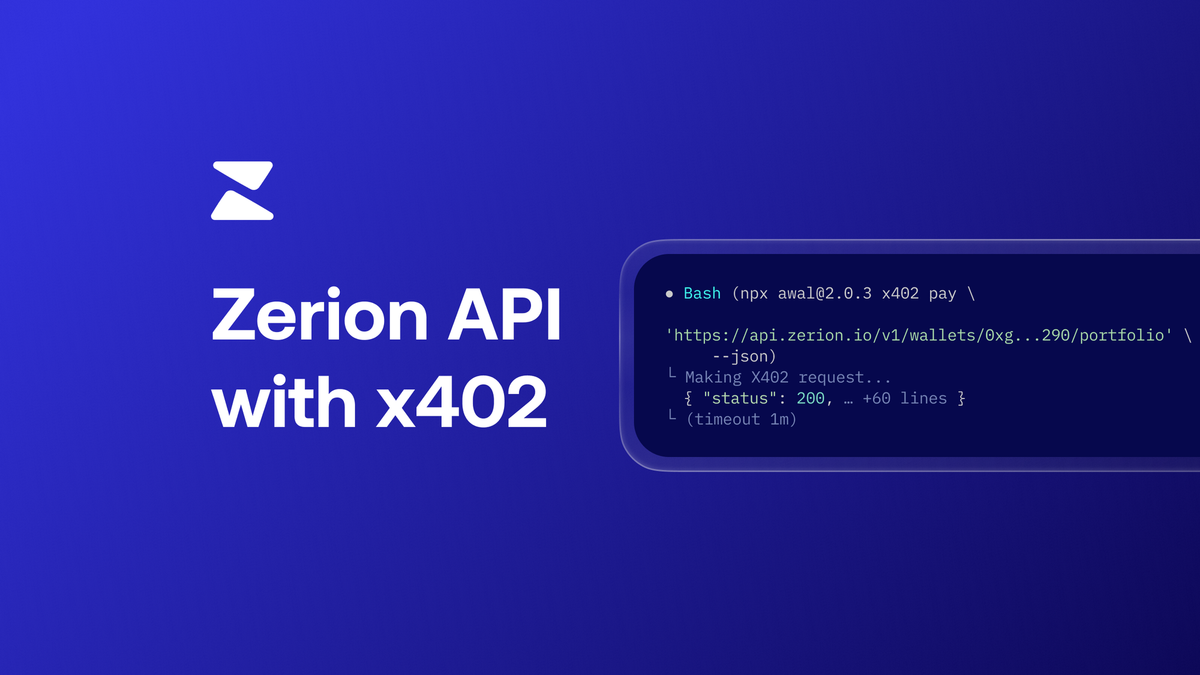
For chain analytics, this architecture is a game-changer. Traditional blockchain data providers often require account creation, API keys, and manual invoicing. x402 endpoints remove these friction points. An AI agent querying a Bitquery or Allium API can check the endpoint, send the required USDC or USDT, and receive the JSON response in the same request cycle. This enables true autonomous monetization for on-chain data providers.
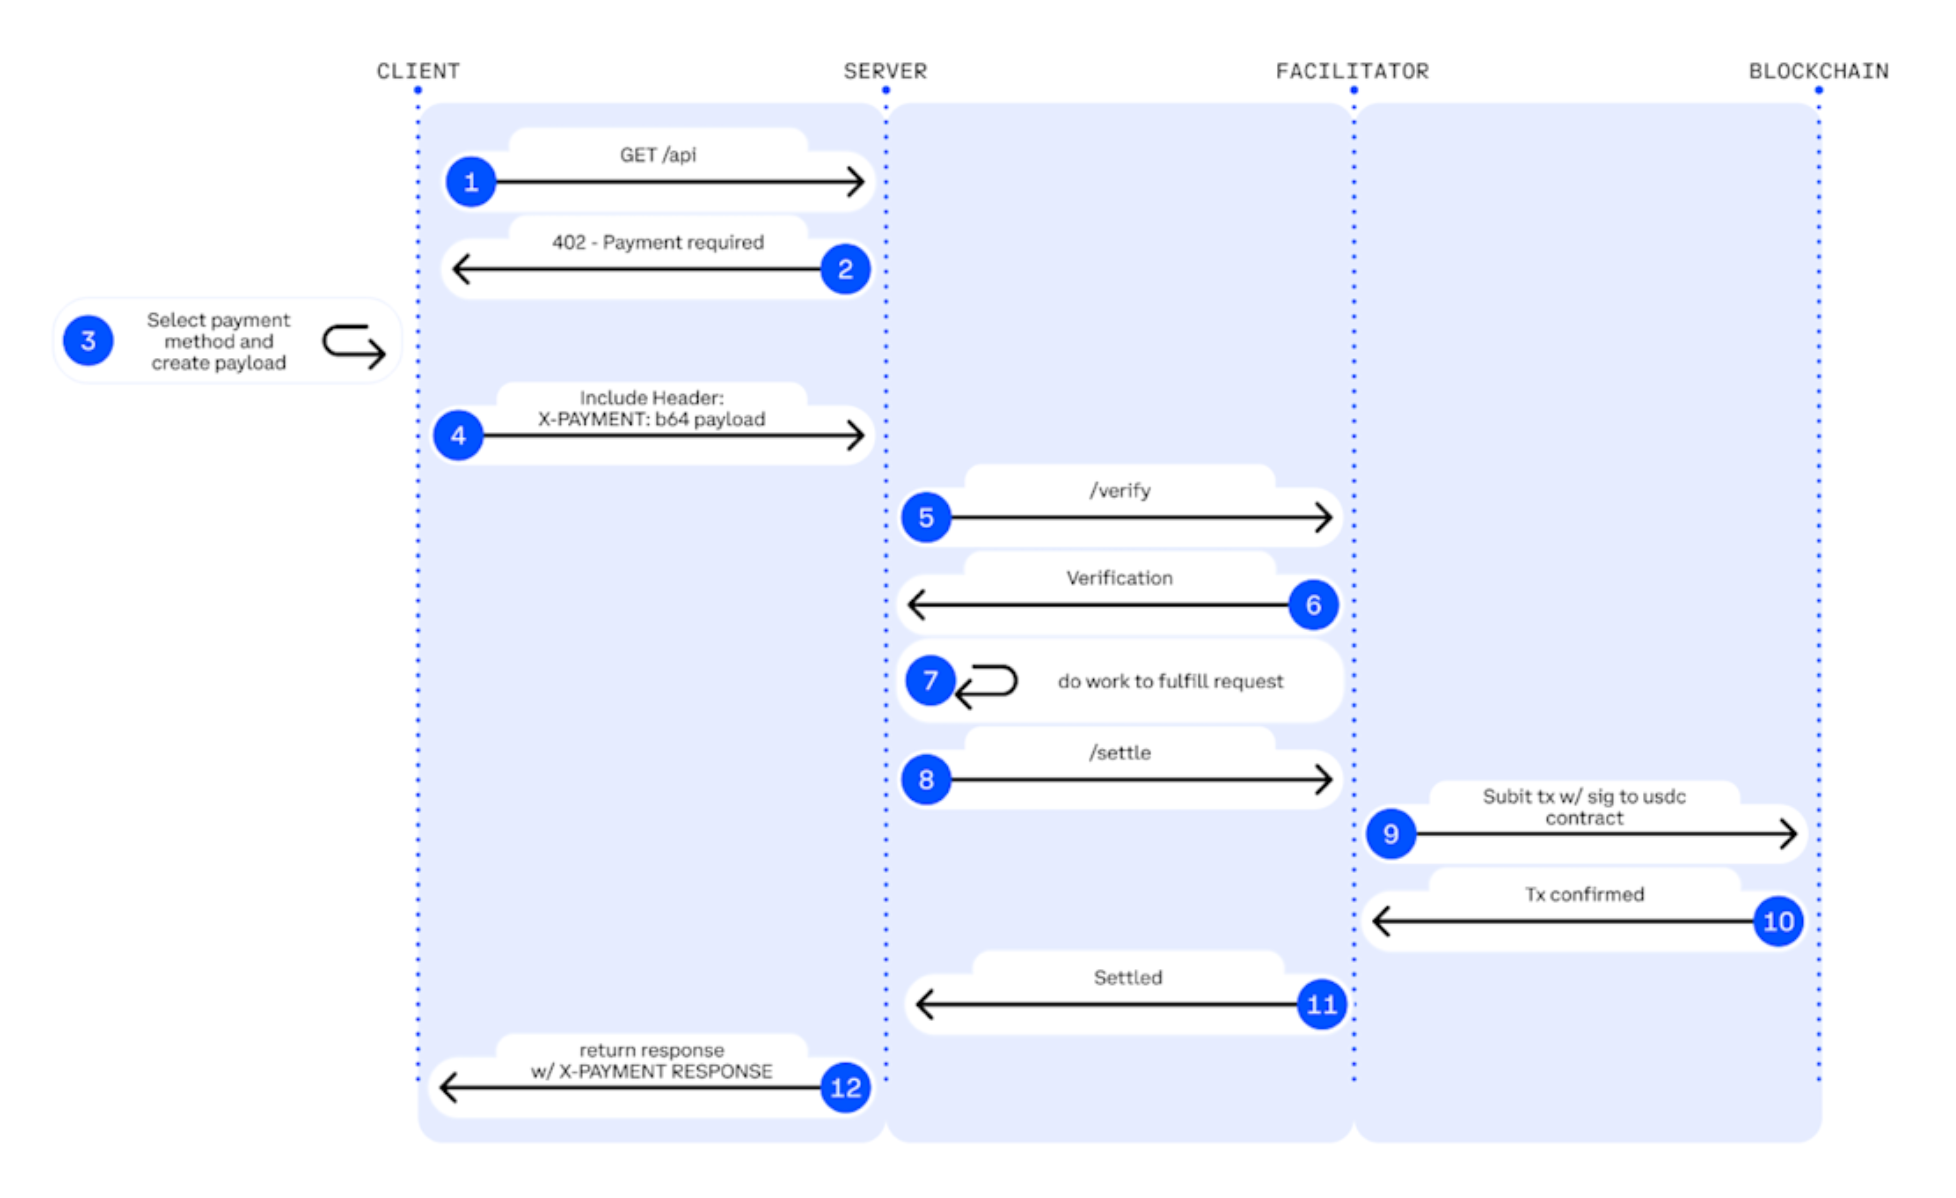
The protocol works by having the server respond with a 402 status and a payment request. The client (your AI agent) then signs a transaction on the relevant blockchain. Once the transaction is confirmed, the agent resubmits the request with the proof of payment. The server verifies the on-chain transaction and returns the requested chain data. This process is fully transparent and auditable on the ledger.
x402 is an open standard that brings the 402 Payment Required HTTP status code back to life for machine-to-machine commerce.
This shift from account-based access to transaction-based access lowers the barrier for entry. Developers no longer need to manage complex billing systems. AI agents can now consume chain analytics data as a commodity, paying only for what they use. This aligns perfectly with the decentralized nature of blockchain itself, creating a seamless loop for data monetization.
Setting up the payment gateway
Configuring an x402 endpoint requires bridging your backend API with a blockchain facilitator. Instead of handling raw cryptographic signing and transaction broadcasting manually, you delegate this to a middleware service like Thirdweb or Zuplo. These facilitators act as the bridge between your Node.js server and the settlement layer, ensuring that USDC payments are verified before your analytics data is released.
1. Install the facilitator SDK
Begin by integrating the facilitator’s SDK into your API project. For a standard Next.js or Express setup, this usually involves a single dependency. Thirdweb’s @thirdweb-dev/facilitators package, for instance, provides the createX402Facilitator utility. This tool abstracts the complexity of ERC-20 approvals and gas estimation, allowing your code to focus on the business logic of the analytics query.
npm install @thirdweb-dev/facilitators
2. Configure environment variables
Secure your setup by defining the necessary environment variables. You will need your wallet’s private key (or a secure key management solution) and the contract address for the USDC token on your target network. The facilitator uses these credentials to sign the payment requests and verify incoming transactions. Never hardcode these values; use a .env file and ensure it is ignored by your version control system.
3. Create the payment-gated endpoint
Wrap your existing analytics endpoint with the facilitator’s middleware. When a client requests data, the middleware intercepts the call. If no payment is present, it returns an x402 header with a payment URI. Once the client broadcasts the USDC transaction, the facilitator monitors the blockchain, verifies the receipt, and then allows your route handler to execute. This ensures that no one accesses the chain analytics data without settling the fee first.

Import the facilitator package and configure it with your wallet credentials. This sets up the local instance that will handle the cryptographic handshake with the client.
Create your standard API route (e.g., POST /api/analytics). Inside this route, call the facilitator’s verifyPayment function. This step ensures the transaction is confirmed on-chain before you query your database.
If the payment is valid, return the requested data. If not, the facilitator automatically handles the error response or redirects the client to complete the payment flow. This keeps your endpoint clean and focused on data delivery.
4. Test the flow locally
Before deploying, test the entire flow using a local testnet. Use a faucet to get test USDC and simulate a client request. Verify that the x402 header is correctly generated and that your server rejects requests without valid signatures. This step is critical for catching configuration errors early.
5. Deploy and monitor
Once tested, deploy your API to your production environment. Monitor the facilitator’s logs to ensure transactions are being processed correctly. You can also use a TechnicalChart to visualize the gas costs associated with your specific blockchain network, helping you optimize for lower fees during peak times.
Final configuration checklist
-
Facilitator SDK installed and imported.
-
Environment variables for wallet and USDC contract set.
-
Analytics endpoint wrapped with payment verification logic.
-
Local testnet flow verified with test USDC.
-
Production deployment complete with monitoring enabled.
Building the analytics endpoint
x402 Endpoints for Chain Analytics APIs works best as a clear sequence: define the constraint, compare the realistic options, test the tradeoff, and choose the path with the fewest hidden costs. That order keeps the advice usable instead of decorative. After each step, pause long enough to check whether the recommendation still fits the reader's actual situation. If it depends on perfect timing, unusual access, or a best-case budget, include a simpler fallback.
Handling failed payments and retries
Even with a robust x402 implementation, transactions will occasionally fail. For a chain analytics API, a failed payment isn't just a broken connection; it's a business logic checkpoint. You need to distinguish between a temporary glitch and a hard reject to avoid burning through a user's funds on useless retries.
Network Congestion and Gas Spikes
The most common failure mode in crypto payments is network congestion. If the underlying blockchain is clogged, your x402 endpoint might time out before the payment is confirmed. Instead of returning a generic 500 error, return a 402 Payment Required with a Retry-After header. This signals to the client that the request is valid but the network is busy.
Clients should implement exponential backoff. A quick retry after 1 second might fail again; waiting 10 seconds often aligns with the next block confirmation. For high-volume chain analytics, consider setting a maximum retry count to prevent infinite loops that could drain API quotas.
Insufficient Funds and Invalid Signatures
Sometimes the fault lies with the payer. If a user lacks the required stablecoin balance or submits an invalid signature, the payment gateway will reject the transaction immediately. In these cases, return a 403 Forbidden or a specific 402 error code that indicates "Insufficient Funds." This allows the frontend to prompt the user for more capital or correct their wallet signature without wasting computational resources.
Idempotency and Safe Retries
Retries introduce the risk of double-charging. Always use idempotency keys when handling x402 payments. If a client retries a request, check if the payment hash has already been processed. If it has, return the original success response immediately. This ensures that even if the network is slow, the user isn't charged twice for the same analytics query. For more on the standard, refer to x402.org.
Tracking revenue and payouts
Monitoring incoming payments and automating payouts to seller wallets is the backbone of a sustainable x402 endpoint. By integrating Chain Analytics APIs, you can verify that a payment has been confirmed on-chain before delivering data, ensuring you never lose revenue to failed transactions. This transparency allows you to build trust with AI agents and developers who rely on consistent, pay-per-use access.
To automate this process, you need to listen for specific transaction events. Circle’s guide to monetizing APIs for AI agents recommends starting with a dedicated seller endpoint, such as an Express API route, to handle the initial request and validate the incoming USDC. Once the transaction is confirmed, your backend can trigger the payout logic, moving funds from the escrow or holding address directly to the seller’s wallet. This reduces manual intervention and keeps your operational costs low.
Using official sources like Bitquery or CoinGecko’s x402 integration can help you track these micro-transactions in real-time. Their APIs provide the necessary visibility into wallet balances and transaction histories, allowing you to reconcile your internal records with on-chain data. This ensures that every dollar earned is accounted for, making your business model robust and scalable.
No comments yet. Be the first to share your thoughts!